Markers (Core & Plus)
Attaching one marker to multiple spaces
Create a marker
- Open the space in the right-hand panel and click on the Marker tab.
- Click the "Add new marker" button, then "Create new".
- A series of blank input fields will appear, asking for information about the marker. Only the marker type is required, other fields are optional.
- Need a marker type that isn't in the list? Click the navy blue plus button to add an option.
- Click "Save" to save this marker in your database.
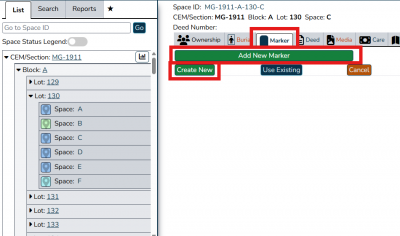
Add a new marker from the Marker tab. Click "Add new marker" then "Create new".
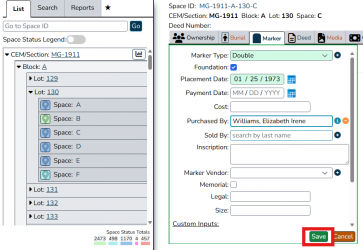
Add any relevant information about the marker, then click "Save".
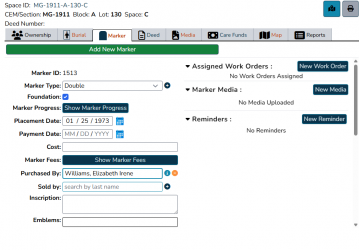
The marker is now saved to your database!


Attaching one marker to multiple spaces

Navigate to the space where you want to add the marker. Click the Marker tab, then "Add new marker". Click the navy blue "Use existing" button. Click the marker you want to attach to this space.
That's it! Now the marker will show that it is associated with two spaces. This is especially useful for markers spanning multiple spaces.
Adding media to markers

Images of markers, headstones, obelisks, and so on are easy to add to CIMS! Open the space in the right-hand panel where the marker is located and click on the Marker tab. Find the marker media section and click the navy blue "New media" button. A popup will appear with 3 tabs:
- Tab 1 allows you to upload an image from your device. You can choose to resize the image or keep its original size.
- Tab 2 allows you to use your device's camera to take a photo and directly upload it into CIMS. This is an especially useful option if you have good signal in your cemetery! Just take a tablet out to your cemetery grounds and use its built-in camera to take photos of markers.
- Tab 3 allows you to save a YouTube link to a marker, which might be useful for an obituary video.
Use the relevant tab to add your media, then click "Save". Your media has now been saved to the marker!
Markers with multiple images will have arrows to the left and right. Click these arrows to navigate between media. To rearrange the order of media, click and drag on the dots underneath the images.
Edit a marker
To edit or add marker information such as a placement date, who purchased the marker, and so on, click on the field you want to edit, make your changes, then click the "Update" button to save your changes.
Remove a marker

Open the space in the right-hand panel where the marker you want to remove is located and click on the Marker tab. Scroll down and click the red "Remove marker" button.
A popup will appear asking you to confirm this action. Click "Ok" to proceed. The marker has now been permanently deleted from your database.
Move a marker to a new space

Open the space in the right-hand panel where the marker you want to move is located and click on the Marker tab. Scroll down and click the orange "Move marker" button.
A popup will appear; use the section, block, lot and space dropdowns to choose the space where you want to move the burial to. A second popup will ask you to confirm the action, click "Yes". The marker has now been moved!
Memorial markers

Memorial markers can be useful if you want to indicate a person has been honored in your cemetery and has a marker, but is not buried on your grounds. In Burial Search, a memorial marker will show in the list of results when searching for a buried person.
To make a memorial marker, click the checkbox "Memorial", then search by name for the person whom this is a memorial for. Remember to search by last name to avoid creating duplicate customer records!
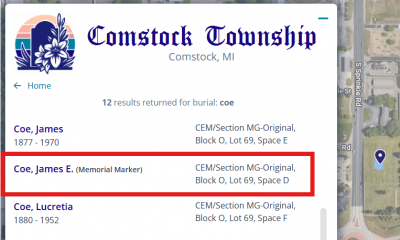
In Burial Search, memorial markers show in the list of search results, even if the memorialized person isn't buried in this cemetery.
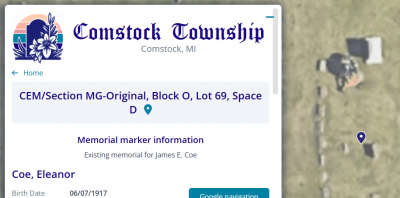
Clicking on a space with a memorial marker will show some basic information about the marker. Images may also show for this marker if they have been made available to the public.

